Here is a how to video I created for the note app Notability. I love this app! I use it everyday in my classroom. I write on my iPad using the Notability app and project it to the front of my classroom. This way I can take notes and circulate around the classroom.
Category: Education Technology
Setting Up Your Google Classroom
Top Benefits of using Google Classroom (in my opinion):
- Absent work! Place your notes, assignments and daily agendas and train your students to always check google classroom before asking for absent work. Best thing ever! A science teacher at my school actually records the science labs on the days the students complete them and posts the videos on Google Classroom so that the absent students can watch the experiments. It saves her time from having to re-setup all the experiments for the students that were absent and it allows the students that were absent to keep up with the classroom assignments.
- Sub plans! I post all videos, worksheets and completed notes on Google Classroom so that when I have a substitute all they have to do is pass out the worksheet and tell the students to go to Google Classroom. Ever since I used Google Classroom for sub plans the amount of completed student work while I have had a substitute has improved significantly. I can actually record myself explaining the notes to the students and post them on Google Classroom and the students will have the notes completed while they are with the sub so when I come back to the classroom there is no wasted time. It’s great!
- Videos! I post videos on how to solve the homework and understand the notes on Google Classroom. On Google Classroom you can add links to videos from YouTube or Khan Academy and many more websites.
- Homework Solutions! I post the homework solutions prior to the homework assignment being due and expect the students to check their homework prior to coming to class. It saves class time from going over unnecessary homework solutions and helps the class focus on the questions they truly need help with.
- Adding links! This saves a lot of time by uploading the link to the website that you would like to your students go to instead of having them type in the link themselves. It has saved me from having to go from student to student trying to figure out what they typed in wrong.
- Connect your google classroom to other online educational tools! Instead of having to upload names and creating accounts for students when using websites, Google Classroom syncs to many websites and creates your classes and student accounts for you. Saves a lot of time and stress!
- Keeps parents in the know! I always tell my students’ parents that if they ever want to know what is being taught in my classroom or what assignments their students have they can always check our class Google Classroom. Parents can even add their own accounts to their students accounts to watch their progress in Google Classroom.
Watch the video below to see how to set up your google classroom!
Suggestions and Choices for your Google Classroom
-before setting it up!
Step 1: Deciding how many classes to set up
Everyone is going to have a different opinion on this one. My suggestion is to think about how involved you will be with your Google Classroom.
Multiple Google classes for each class period:
For instance, if you are going to assign assignments and collect them on Google Classroom than I highly suggest that you create separate classes per each class period. The reason is that you can change the assignment and the due date for each class and it makes the grading process easier. Another reason that I would suggest to create a class for each class period is if you are planning on using other online websites for your classroom. Google classroom can help set up the students accounts and classes in other websites such as GoGuardian, Nearpod, Quizizz and many more websites are allowing for Google Classroom to sync with their website. I am trying out one Google Classroom per class period this year. I will let you know how it goes! There is ways to post a topic, message or homework to more than one class at a time, so don’t worry about having to do a lot of extra work re-posting the same information if you choose to separate your classes be period.
Single Google class for all your same subject classes:
If you only plan on posting notes and homework details on google classroom then it might be best to just create one Google Classroom class per same subject classes. The past two years I did it this way, where I created one “Math 8” class for my 3 math 8 classes and one “Honors Algebra 1” class for my 2 honors algebra classes. It worked out very well and was easy to maintain. The only downfall is that it didn’t separate the students by period, so if I collected any assignments on Google Classroom (which I didn’t do often at the time) I would have to hand sort the students myself which took extra time to grade. Also, if I tried syncing my students on other websites by Google Classroom it would not separate them by period which can cause confusion.
Step 2: Deciding what to put on google classroom
Here is what I put on my Google Classroom to give you some ideas of topics that might be helpful:
- Class Announcements – This is where I post links that I want the students to use that day in class or I post announcements about upcoming tests or quizzes.
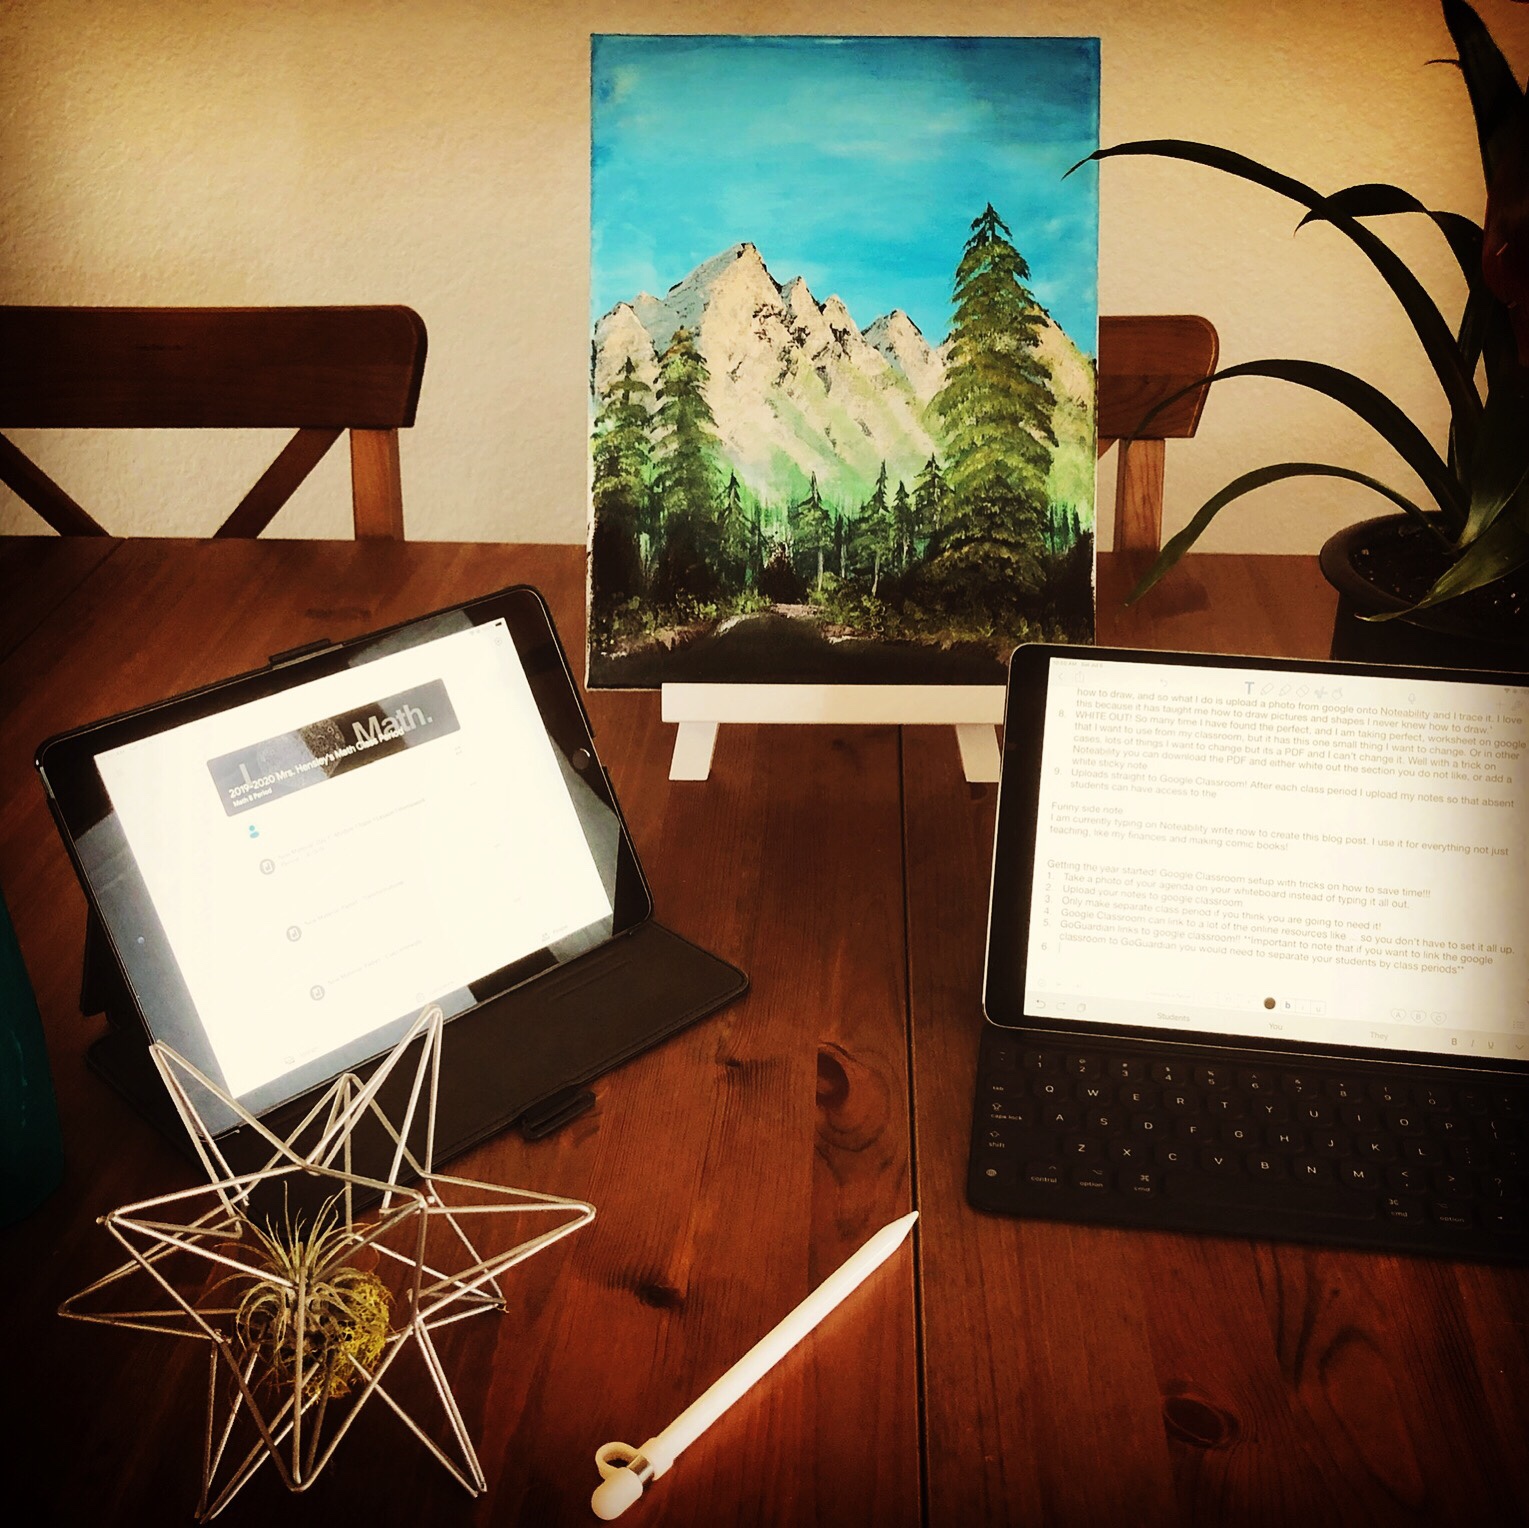
- Class Notes and Daily Agenda – I use Notability, an app for my iPad that connects to my projector to take notes on. Since the notes are electronic it is easy to post them on Google Classroom and only takes a few quick steps. I also write the daily agenda on my notes everyday so when I upload the notes it also has the daily agenda so the absent students know what we did in class that day. Even if you do not write your notes digitally you can still easily post them on Google Classroom by taking photos of them or scanning them and uploading them.
- Homework – I post all the homework assignments here. If it is book work I write the page numbers and problem numbers. If it is a worksheet I post it on Google Classroom as well so if a student loses one or is absent they do not need to come to me to get an assignment.
- Homework Solutions – I upload the answer keys along with videos of the homework every night before the homework is due. I expect the students to check their answers prior to coming into class.
- Syllabus – I love that the syllabus is on here so that the parents and students can always reference during the year, since a majority of the students lose the syllabus within the first month of school.
- Mathia and Carnegie Textbook – We have online software and textbooks for our math classes so I post the links and the log in instructions for the students under this topic.
- Class Resources – Since I am a math teacher, I use the class resources to post links to online calculators and graphing tools. DESMOS links directly to google classroom.
- Extra Help – I post study material, review videos from Khan academy and more to this topic to help students have access to optional study material before the test.
- Extra Assignments – This is where I post their extra credit assignments and instructions.
- CAASPP – Our California state testing has online review tools that the students have access to all year long so I post the link and have the students practice the problems. It is easy to teach the students where to find the log in instructions when it is posted on Google Classroom.
Other options for your Google Classroom topics ideas:
Step 3: Look for Tips & Tricks to make using Google Classroom faster and easier
Here is a link to a blog post and video on tips & tricks that I found to make google classroom faster and easier to use:
For example, every teacher writes their daily agenda on their whiteboard everyday. So instead of re-writing the daily agenda by typing it into Google Classroom, simply take a quick picture of it instead! Saves time and energy and only takes about 1 minute to do!
The Journey Begins
Thanks for joining me!
Big journeys begin with small steps. — Unknown
As I sat down pondering what I want this website to be, I thought, I just want this website to be straight forward and easy. Simple idea right!…but oh how the beginning of this journey was challenging. I began thinking where does this process start? With social media, with a website, with real people actually following me? [it’s very intimating wondering if you are ideas are something that others will actually take an interest in] A coworker of mine (more of an amazing friend) always comes into my classroom asking for quick and easy tips and tricks on how to implement some new teaching strategy or technology, and every time she leaves she says that I should create a website to share the tips with the world (hence the idea for the name of the website Educational Tips & Tricks). And because of her suggestions and the support of my husband, I decided it was time to create this website! I am a lucky one to have positive people in my life encouraging me to share my knowledge. My goal is simple, to just save teachers time while helping share new teaching ideas and educational technology.
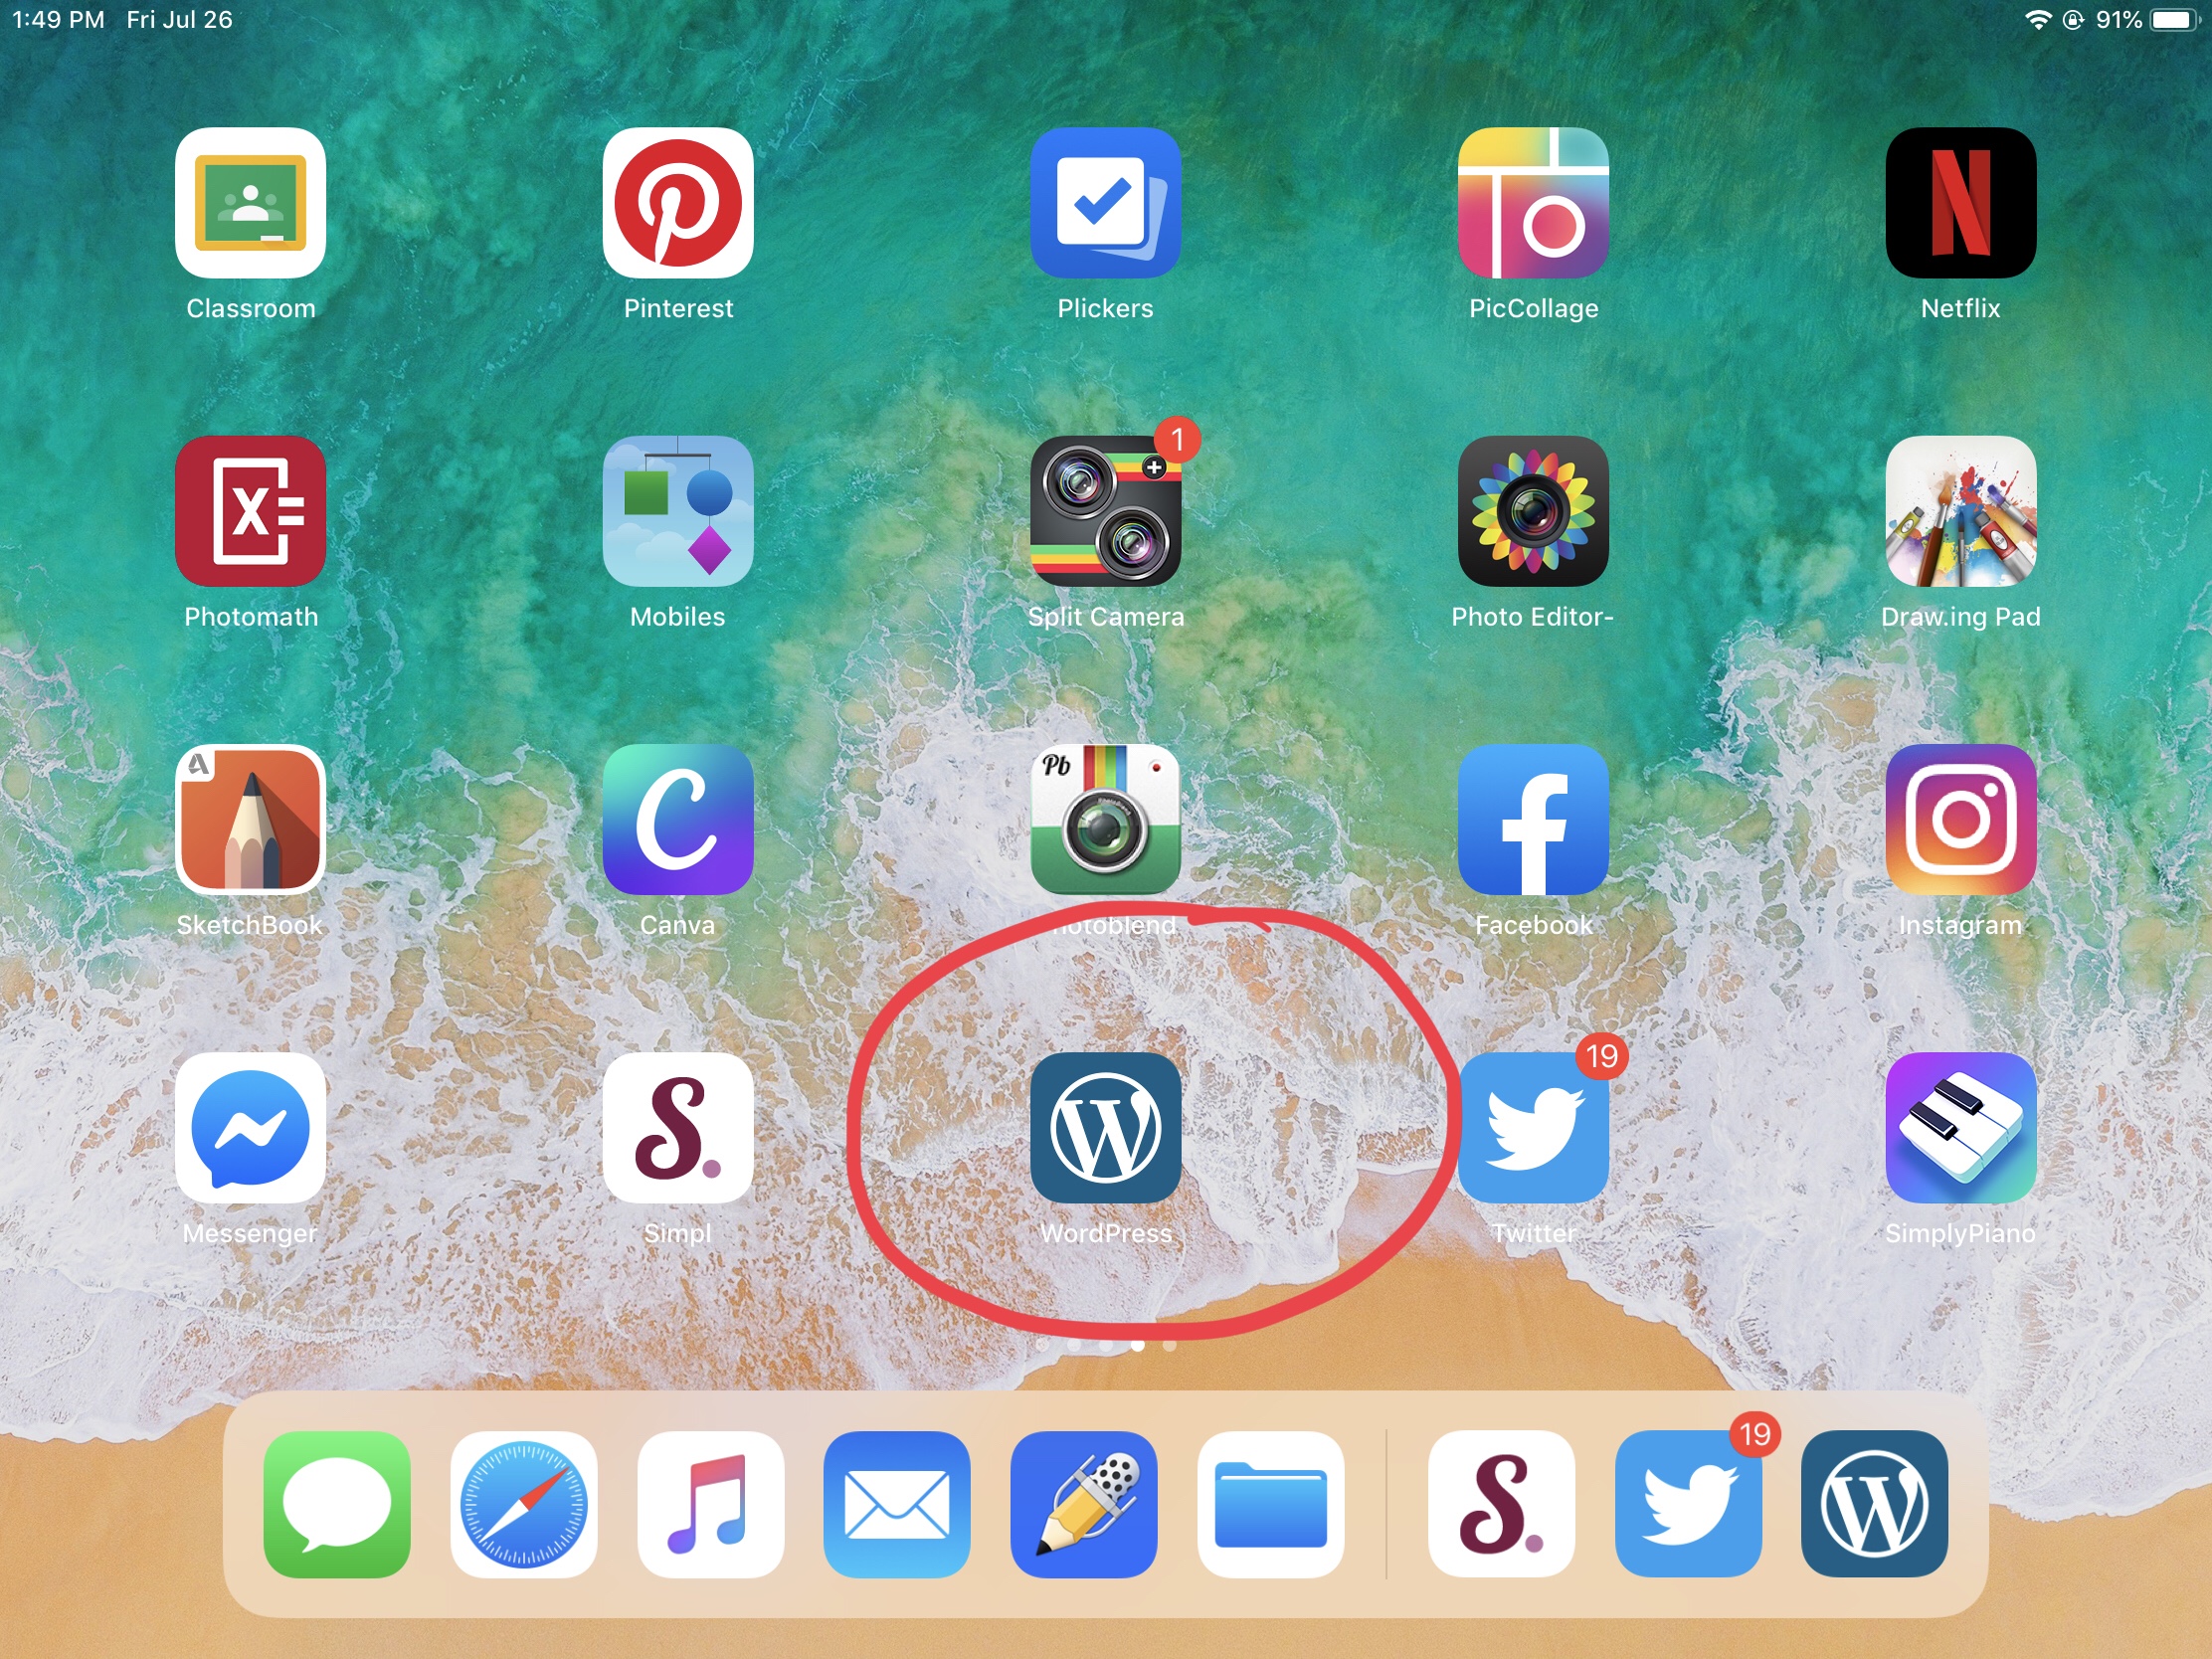
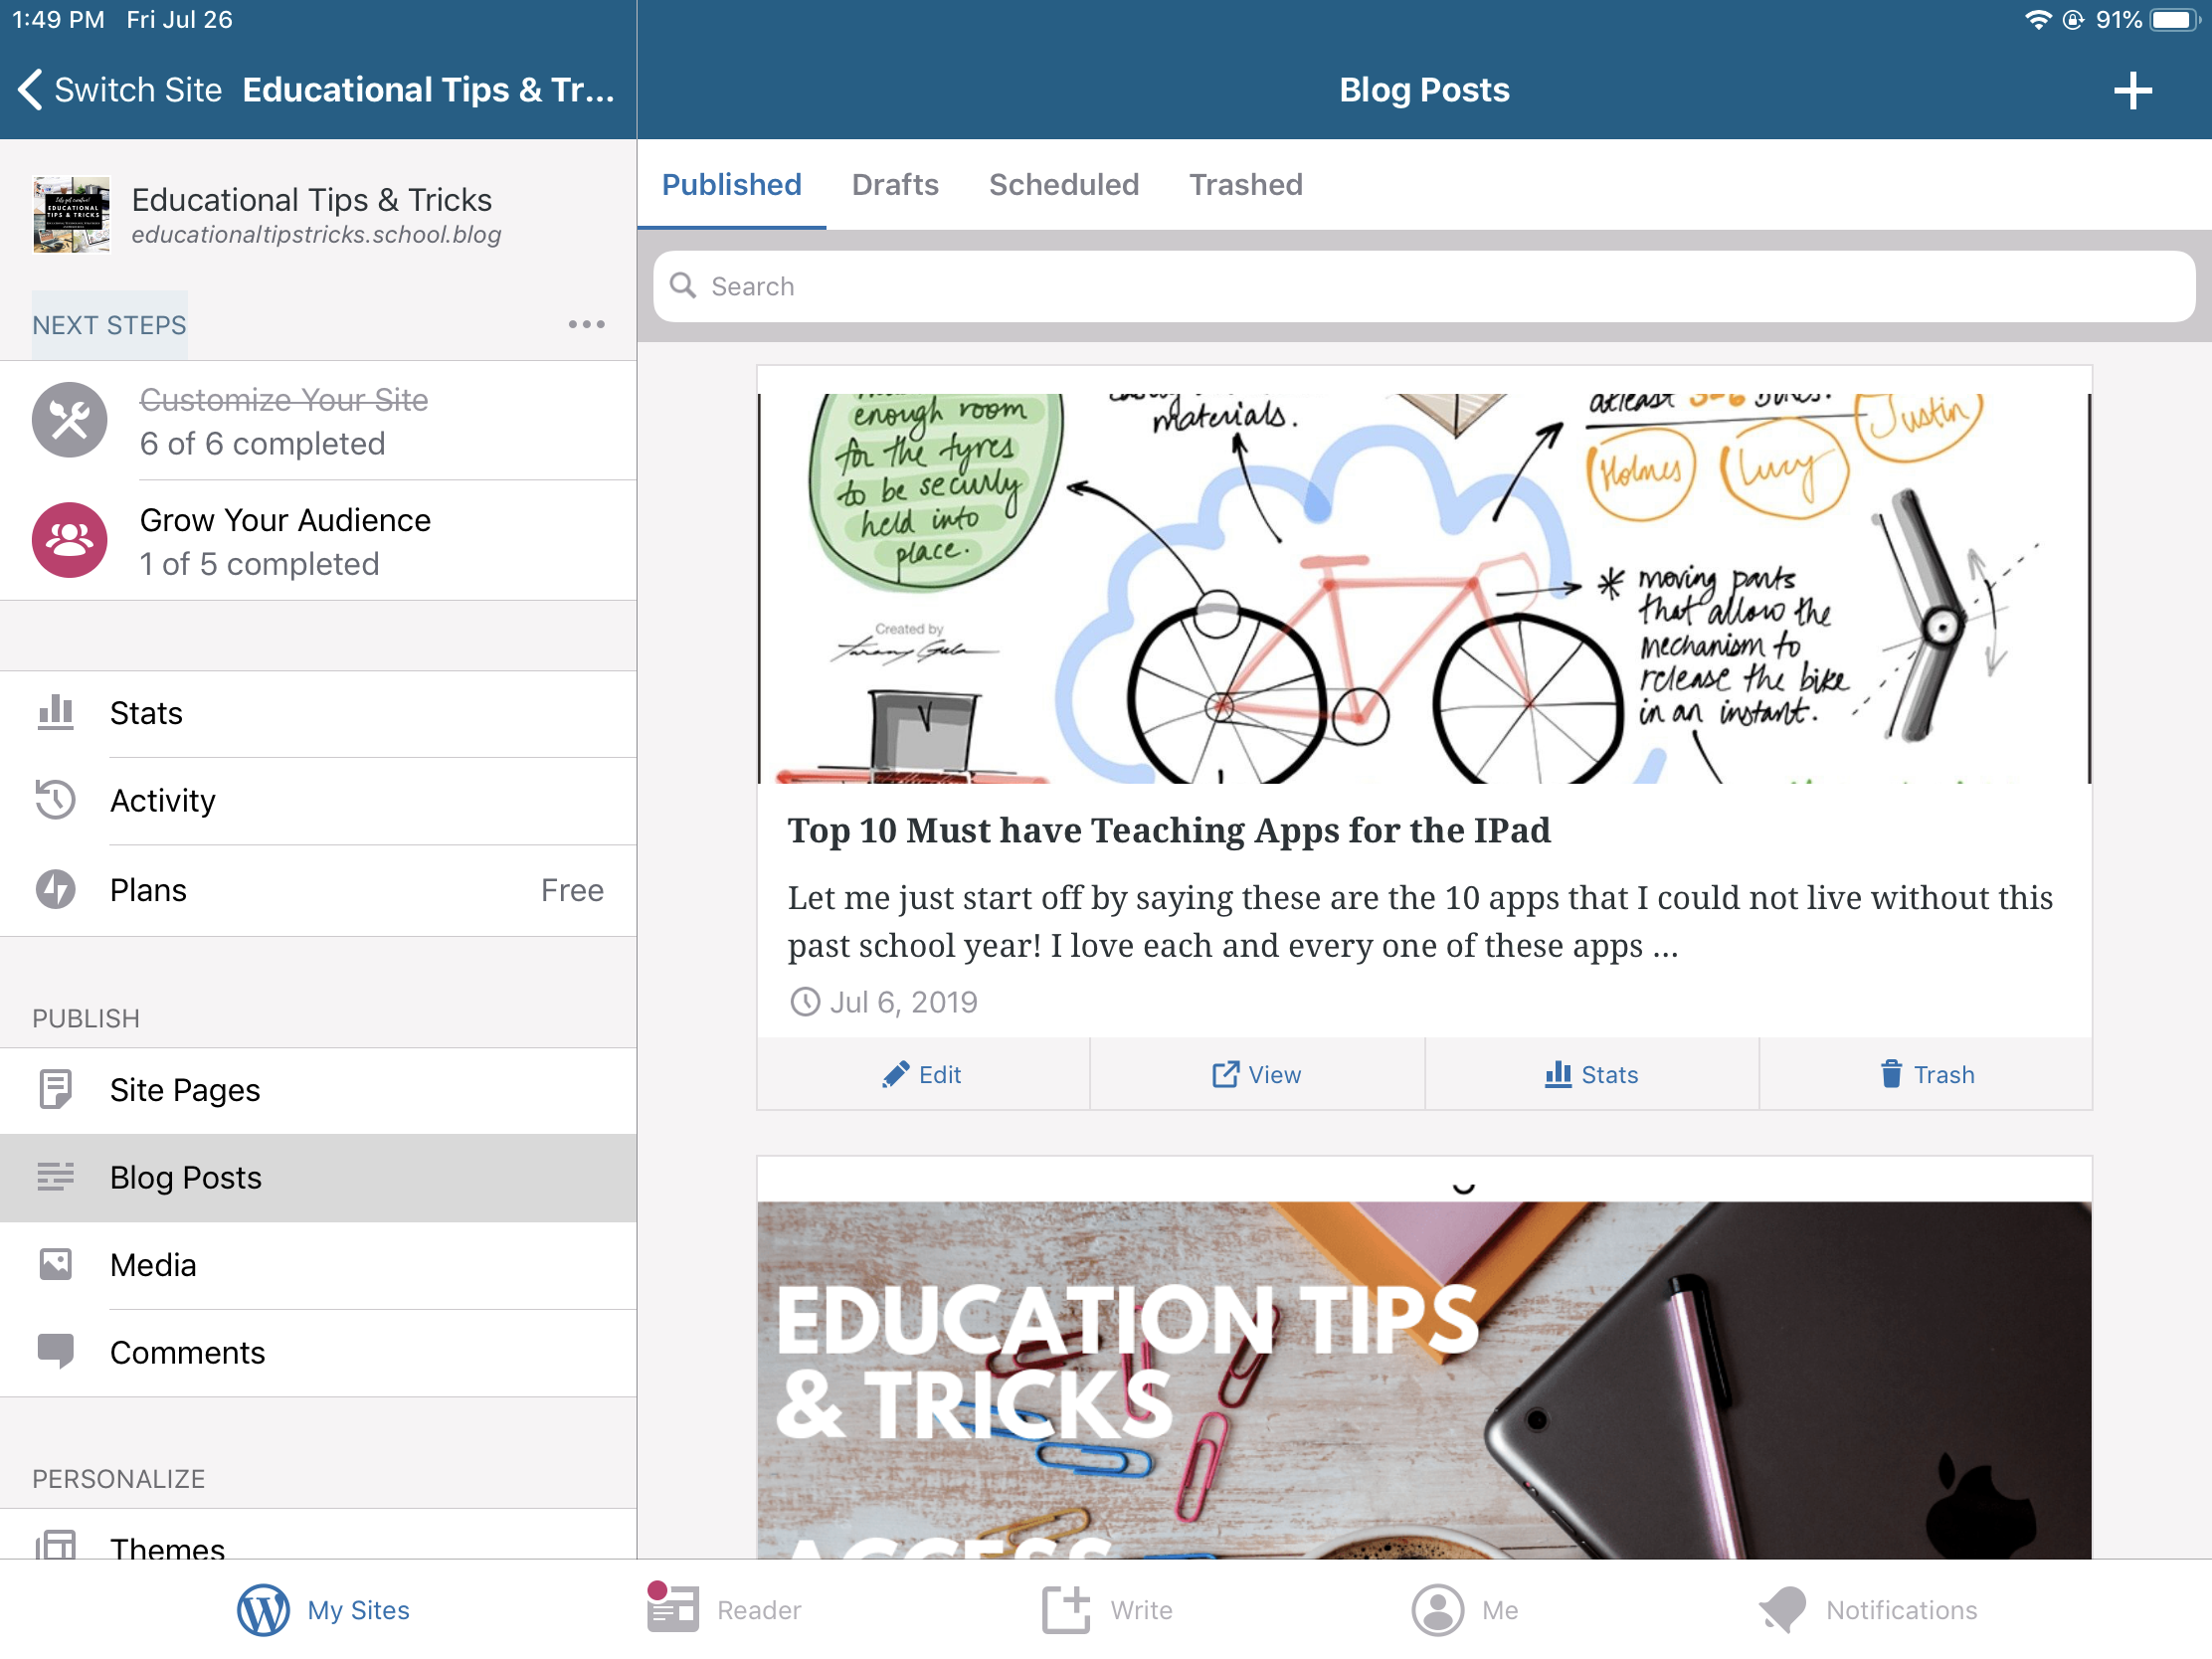
Step 1: What website builder?
I am all about the FREE stuff! I am super cheap and proud of it! So my goal was to find a simple website creator that would be FREE or pretty cheap. I tried about 8 different website builders and I finally found the one that fits my needs. My main issue was that I am using my iPad for everting. Many of the website builders do not support the iPad or at least don’t support it well. WordPress actually does a great job on the iPad and has a lot of editing options. And it’s FREE!
Step 2: The Website
What to put on the website? Since I am planning on being the instructional coach at my school, I thought it would be nice to incorporate an area that supports my colleagues. A major aspect of the website that I want it to have is for it to be easy to navigate. I am hoping to be able to share a link to a friend on social media or in person and have it bring them right to what they are looking for. Also, that the website is organized enough so that you can look for something that catches your attention without having to scroll for hours through posts that do not interest you.
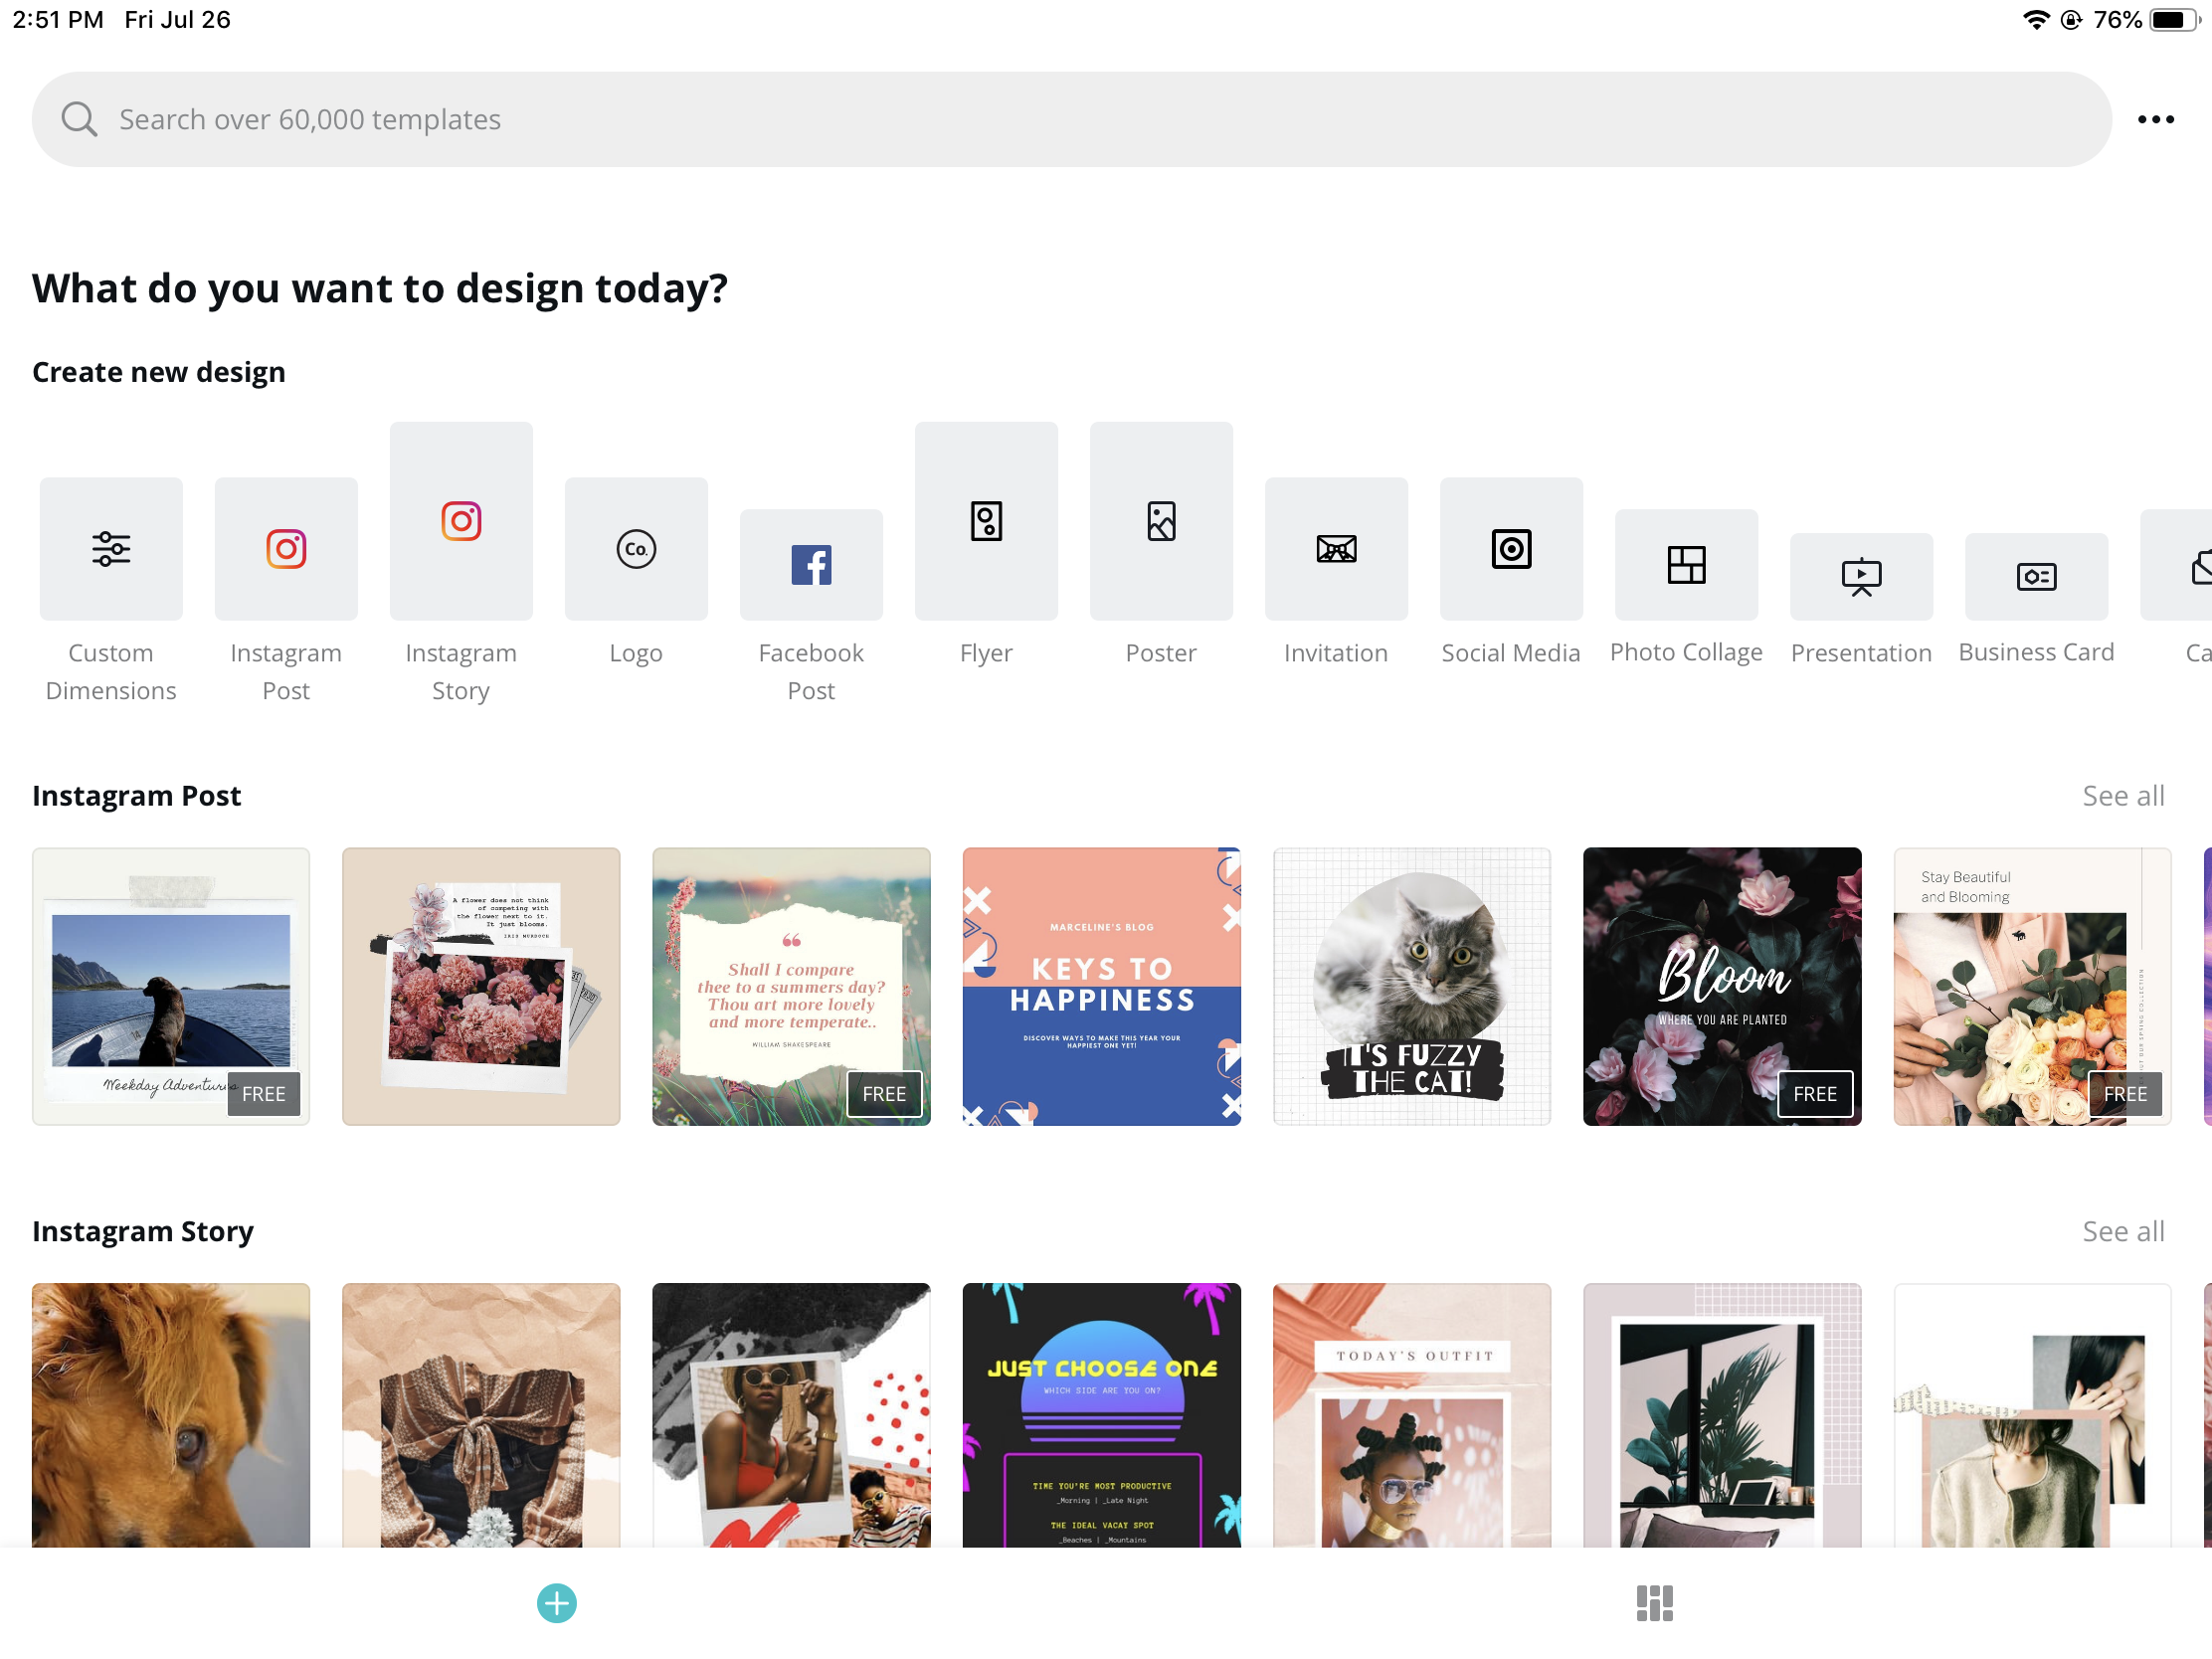
Step 3: Creating the Vibe
Creating the vibe for my website was actually very enjoyable. I sat down for a few hours on Canva and looked for the images that best fit what I was looking for. Canva is so incredibly easy to use. An English teacher at my school actually introduced me to Canva this past school year. She used Canva for her multi-genre English project where the students were able to make pictures, business cards, recipes, posters and so much more for their topic theme and it is FREE!! My vide is a more relaxing professional theme so I chose to make images that represented the professional hardworking side of teaching such as coffee mugs and technology (because as you may notice by now, I love technology!). The image at the top of this blog post and the image on the homepage of my website is from Canva. To use Canva you can download the app or click on Canva and log in. I will make a video some time this year on how to use Canva and some teaching strategies and projects teachers have used with Canva.
Step 4: Social Media
Now to spread the word. Social media is where everything is at so of course I needed to make a social media network to go with the website. I will post all the information from the website onto Facebook, Twitter, and Instagram so that it will hopefully help catch a teachers attention without them having to go to the website to look for it. I will post weekly tips and strategies and I might even navigate into learning how to make podcast for those who enough it. I think it would be great to interview different teachers who teach different subject matters and share it with the world. Hopefully this will encourage people to partake in more cross curriculum strategies and activities. I love anything that allows for cross curriculum in the classroom! Blog posts are a new concept to me, but I thought “hey, why not?” So here I am writing blog posts now lol.
Facebook: @EducationalTipsTricks
Instagram: @Educational_Tips_Tricks
Twitter: @Edu_Tips_Tricks

What Next? “How to” Videos
My first “how to” video will be about google classroom and how to start up the year with easy tricks for google classroom. Since it is the start of the school year soon, my goal is to show teachers how to get their classroom setup to use technology for the teachers and students benefit. I will then transition into more everyday tips and tricks, and I will share as many new educational strategies as I can find. And hopefully one day people can even send me requests and I can help find tips on how to make teaching more efficient and hands on and not too much extra work!
